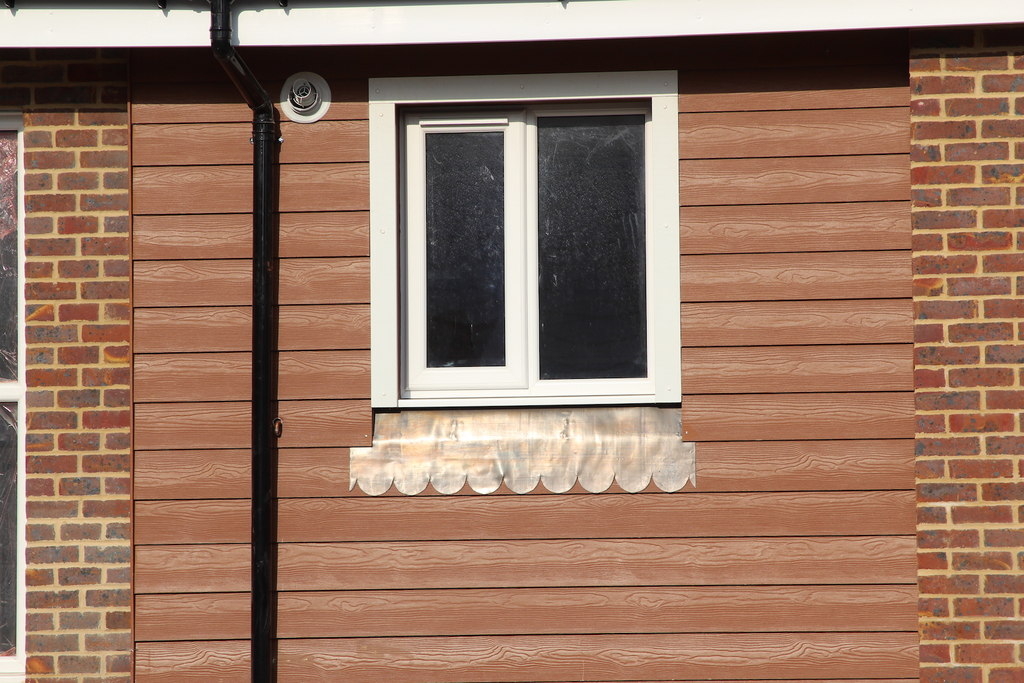
You may not realise it, but part of your home maintenance should include cleaning your external wall cladding. If you ignore this task, your cladding may suffer and your home will look untidy. As time passes, the cladding will be exposed to different pollutants including dust, dirt, pollen, mildew, mould, cobwebs and animal faeces. If these pollutants are allowed to accumulate on your cladding, not only will they make your home dirty and unkempt, but they can also damage the cladding. This means you may need to replace it sooner than otherwise.
Therefore, we’ve put together this blog to show you how simple it easy to clean your cladding. Follow our simple steps and your cladding will be spotless in no time.
Materials needed to clean wall cladding:
While these materials may vary a little depending on the type of cladding you have, in general, you will need the following to get the job done properly.
- Soft bristle-brush or broom
- Hose
- Bucket of water
- Sponge
- Suitable cleaning solution (it should be appropriate for use on your type of cladding)
Remove dirt and dust:
The first thing you need to do is get rid of any dust and dirt on your cladding. You’ll need your soft-bristle brush or broom for this. Gently brush away any loose dirt or dust. Do not scrub at the cladding as this may damage it. If something doesn’t come off at this point, don’t worry. It will be dealt with in a later step. You may need to clean the brush during this process if the cladding is particularly dirty to avoid spreading the dirt and dust around.
Rinse cladding:
With the loose dirt, dust and debris are gone, you can then rinse the surface. This should move the majority of the remaining dirt and debris. It’s important to do this step after removing as much dust and dirt as possible beforehand. This prevents you from creating mud on your cladding and making the problem worse.
Use a hose to rinse the cladding. Avoid using a high-pressure cleaner as this can damage the cladding if the pressure is set too high or you use it too close to the cladding.
You can then let the cladding dry.
Remove difficult marks:
If there are still marks on the cladding, you will need to mix up the cleaning solution in the bucket of water. Follow the directions on the packaging for the correct amount. Ensure the cleaning solution is suitable for your type of cladding. If not, it may damage your cladding, such as leaving marks.
Dip the sponge in the cleaning solution and water mixture and then gently scrub at any remaining marks. This should lift any marks and stains. You may need to do it a few times. Rinse the cleaning solution off the cladding then allow the cladding to dry.
Why this process works:
The process above can be used for all types of cladding as well as marks and stains. Ultimately, you should try and remove as much of the dust, dirt and debris from the cladding before wetting it and scrubbing it. This helps avoid creating a mix of water and dirt that can do further damage to your cladding.
You will also find that this process works for all types of cladding. It relies on basic cleaning principles and then using specialist cleaning solutions if needed. Avoid using generic cleaning solutions as they may discolour or fade your cladding. Instead, refer to what the manufacturer recommends. Follow their recommendations for cleaning tips as well. For instance, the more porous cladding may need to be resealed or repainted after it has been cleaned to ensure that it does not swell.
Conclusion
Many homeowners forget or ignore their external cladding when it comes to home maintenance. However, cleaning your cladding is important to maintaining the aesthetic appeal of your home, as well as avoiding having to replace your cladding sooner than expected. Remember to use a cleaning solution that is suitable for your cladding and to be gentle as you do it to avoid scratching or damaging the cladding.
Also, read here: The Best External Cladding Materials for Your Home


Follow us